Blog

How to Print Planner Inserts for Your Pretty A5 Planner
PRINT YOUR OWN BEAUTIFUL A5 PLANNER INSERTS
In this post, I’ll be sharing how you can print planner inserts and my recommendations for tools that will give you a great finished product and make things easier.
Before printing your planner inserts, you’ll need to know what kind of inserts you need to print. And to know that, you’ll need to know what kind of planner you have.
If you were given a planner by someone, or you just happened to pick one up of the shelf and you don’t know what size your planner is, this page will help you identify the size of planner you have.
If you haven’t already bought a planner and you’re still in the planning phase 😉, then choosing the right kind of planner will depend on how you’ll be using it.
- Will it need to be small enough to fit inside a small purse?
- Will you need the pages to be big enough to write in without feeling pressured to use your tiniest handwriting?
I’ve found that many people use either an A5 size planner or a Personal size planner. The Personal size planner is smaller than the A5 size, so it’s more handy for carrying around in smaller bags. The A5 has wider pages, allowing you to write more, make more notes and have more information on your pages.
Choosing what works best for you will depend on your preference.
In our monthly stationery collections, we currently have A5 and US Half Letter sizes of many of our items. You can check out our stationery club here. ⤵️
For this article, I'll be specifically looking at printing for an A5 planner. So with that, let's get into it!
The Right Printer
Firstly, it probably goes without saying, but you’ll need a printer if you plan on printing planner inserts.
If you already have a printer at home, test and see what it’s like at printing pages with colourful graphics and illustrations. If, even at ‘best quality’, you’re not happy with the result, and you’ve tried cleaning and aligning your printhead, then you might want to think about investing in a graphic-friendly printer.
I’ve had several printers over the years, and the one I’m currently using is great for printing in colour and even printing on heavy card stock! When I print note cards on 300gsm card stock and round the corners with a corner punch, they look as though they’ve been professionally printed!
The printer I currently have is this Canon printer and it's a good printer for media, colour documents and for printing on to really thick (300gsm) card. This is because it has a rear paper feed that can take thicker paper without bending it too much.
If you’d like to print on card but you’re not sure what thickness of paper your printer can handle I strongly recommend reading the manufacturer’s manual before trying to print on card stock. My previous printer died because I was trying to feed 300gsm card through it when it’s maximum paper thickness was 190gsm! If you don’t know the limits of your printer, don’t guess! It’s better to be safe than sorry!
I’d also recommend that you use a cartridge printer and not a toner printer. Most domestic printers are cartridge printers and use separate ink cartridges for the various coloured inks. Toner printers are often used in schools and offices for printing large quantities of black and white documents.
Okay, moving on from printers, let’s talk about papers.
The Right Paper
There are a ton of different paper types out there. And the type of paper you choose to use depends a lot on how whether you prefer a week to view page or a page-a-day view. Basically, how many pages you’ll be putting into your planner.
I have an A5 planner, and I like to use 90gsm A5 paper and 120gsm A5 paper. The different gsm’s I mentioned refer to the weight of the paper. The higher the gsm, the thicker the paper or card. I like the 90gsm for my daily pages and general planner sheets, and I use the 120gsm for my Art Print quote page as I like a heavier page at the start of my month - but that’s just me!
If you’re a page-a-day person
Then I’d recommend thinner paper (like 80gsm or 90gsm) so that you can fit more pages inside your planner. However, if you really hate seeing ink coming through on the reverse side of your pages, then you’ll probably want to use 100gsm paper.
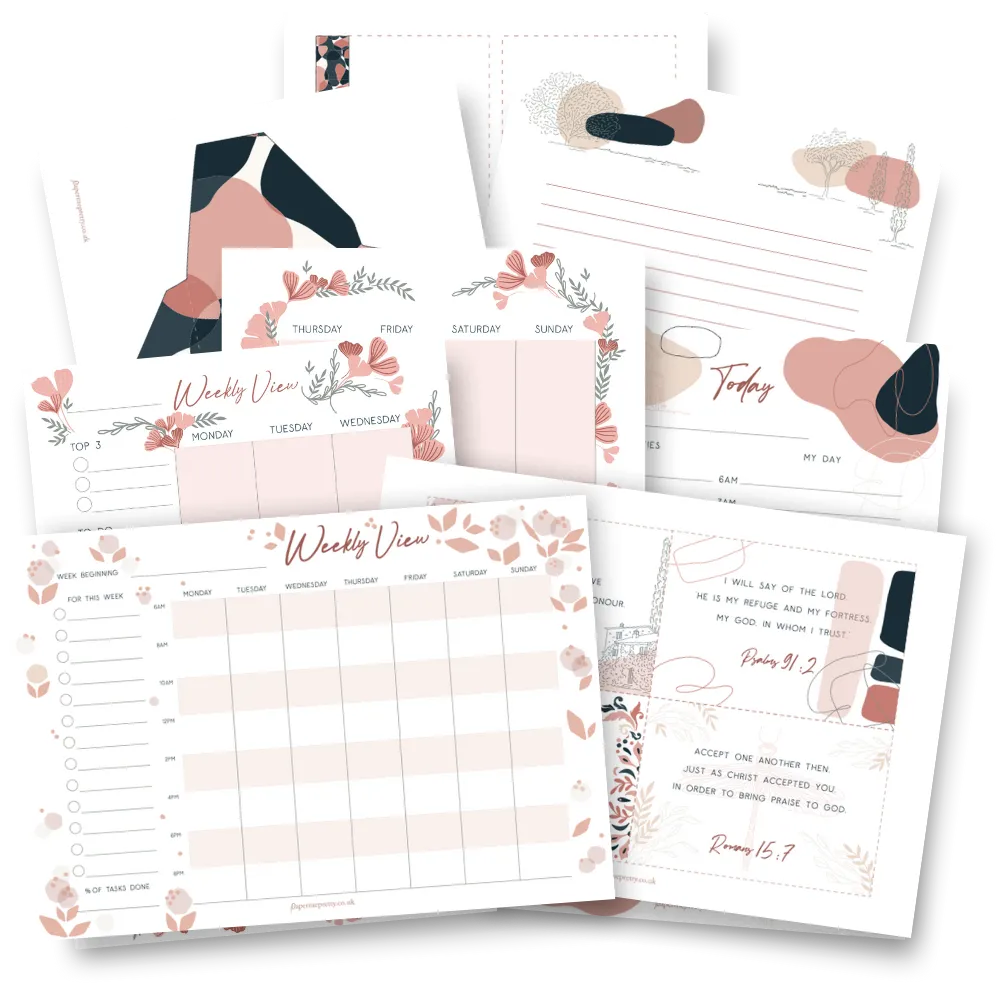
Weekly view pages inside our monthly stationery club.
If you’re a week-to-view person
Then you can use heavier paper without having to worry too much about having an over-bulging planner.
I don’t recommend using hand pressed papers to print on. The uneven surface of hand pressed paper makes it difficult to print stationery with a uniform look. You’ll have some pages with complete lines and others where the lines are patchy.
If you want to have some pages that are printed on cold pressed paper you can do this. Just be sure that whichever paper stock you choose, it has a fairly smooth surface.
One final point about paper.
If you have an A5 planner, then I’d recommend using A5 paper. This might sound obvious, but I mention this because I know that it’s tempting to print planner inserts on A4 and then cut the paper in half. And whilst you do end up with two A5 pieces, unless you’re a robot, you’re likely to end up with pieces of paper which are almost A5... but not quite. And when you put them all in your planner, the pages will stick out at different heights. Don’t ask me how I know this! 🤦🏽♀️
So my tutorial below will walk you through steps assuming that your printer doesn't print duplex on A5 either.
What’s printing to the edge?
This is where your printer can print ink right up to the edge of the paper (without leaving a gap for the margin).
What’s duplex printing?
This is where you printer can print on both sides of the same piece of paper without you having to feed it through the printer again.
So we’ve covered printers and paper. Let’s move on to the main reason you’re here! How to print your own planner inserts!
Various printables inside our monthly stationery club.
How to Print Planner Inserts & Refills
Okay, so I’m gonna just get this out of the way. As the creator of Paper Me Pretty, I use the stationery items inside the monthly bundles as the basis of the items I include in my A5 planner. So if you’re looking for beautiful planner inserts that you don’t have to create yourself from scratch, I highly recommend you join our stationery club so you can get beautiful new stationery each month. Click below to find out more and join.
Plan before Printing
Before you begin to print planner inserts, you should to have an idea of the different page layouts you want to include in your planner. And you'll need to know how many pages of each layout you want to print.
Knowing this before you begin printing will remove a lot of headache about wasting paper.
The key is to have an even number of pages that you want to print (unless you specifically want a one-sided page).
So, here’s an example of what it might look like if I plan on having a day-to-view spread in my planner:
Say I want to print a month’s worth of pages with:
a day-to-view spread
a weekly review page each week
A month-to-view calendar and
3 goal planner pages
Let's start with the Day-to-View sections
Because there are seven days in a week, I would need to add a page to the daily pages so that there will be an even number of pages. So if I added one weekly review page to my daily section, I will now have 8 pages. Now my weekly sections will be complete as they have an even number of pages.
Now for the Monthly Calendar
With my month-to-view calendar, I have a few options. Because the month will be split across two pages that face each other, I will need pages to go on the reverse sides of the calendar.
Calendar pages inside our monthly stationery club.
For the left-hand side of the calendar, I like to put an Art Print Quote on the reverse side. This is because it’s a lovely start to my month to see this as the first page. And on the right-hand side of the calendar, I like to use a Notepaper page on the reverse side. This is a nice place to jot down ideas, notes and other things.
If you wanted, you could simply put Notepaper pages on both of the reverse sides of your calendar. Or you could print a page with the title of the month on the reverse side of your left-hand calendar page.
And finally, let's plan our Goal Planner pages
An A4 goal planner page inside our stationery club. (We also have A5 and US versions)
With the Goal Planner pages, you can choose to print the three Goal Planner pages and add a Notepaper page to make it a total of 4 (even) pages. Or you could print a Notepaper page on the reverse of each Goal Planner page. That would make a total of 6 (even) pages. The latter is how I like to print my Goal Planner pages. That's because it gives me somewhere close by to write extra tasks, ideas or things I’ve researched for my goal.
How to print double-sided A5
This is the part that often trips people up when it comes to printing refill inserts for their A5 planner.
The way to not get confused is to think of each page as either a front page or a back page. Your front pages will be all the pages on the right-hand side of your planner. Whilst your back pages will be all the pages on the left-hand side of your planner.
Got a friend who needs to see this post? Share this page with them!
Printing your Day-to-View Planner Inserts
So, let’s start with printing our day-to-view pages first. And I’m going to assume that your printer doesn’t print duplex A5.
Let’s say we want to print four weeks of our daily sections - so that’s four sections.
Each section will be 8 pages long and will use 4 sheets of paper (once we’ve printed on both sides). One of these sheets will have a Weekly Review page on the back side of it.
So, to clarify, each week will use 4 sheets of A5 paper.
4 weeks x 4 A5 sheets = 16 A5 sheets.
Once your A5 paper is loaded into your printer, print 16 copies of your Daily Page.
When that’s done, remove 4 of the sheets (which we’re reserving for our Weekly Review Pages).
You’ll be left with 12 copies of your Daily Page. Insert these pages into your printer so that when they print, the copy will print on the reverse of each page.
Now, you'll print 12 more copies of your Daily Page. You should now have 12 sheets that have your Daily Page printed on both sides.
Next, take your remaining 4 copies that you set aside and put these in your printer so that when printing, they will print on the reverse of each page.
Then print 4 copies of your Weekly Review page. You should now have 4 sheets with a Daily Page on one side and a Weekly Review page on the other. Your Daily Page is the front page and your Weekly Review is the back page. You can now put one of these pages after every third Daily Page sheet to make your four weekly sections complete. And you can now hole punch these pages and put them in your planner.
An A5 month to view calendar inside our stationery club.
Printing a Month to View Calendar
Let’s move on to printing our calendar pages. Inside our stationery club, we have calendar pages specially designed to print with a month-to-view across two A5 (or US Half Letter) sheets. This means that printing your month to view calendar is as easy as opening the document and selecting 'print'!
Once you’ve got your monthly calendar printed, you’ll want to print the reverse sides. And this is pretty simple.
Let’s start with the left-hand side calendar page. Put it in your printer so that you can print on the reverse of it. Then just choose your option for the reverse side of your left-hand calendar page and print one copy of that.
Do the same for your right-hand side calendar page. You should now have a month-to-view calendar with your chosen pages printed on the reverse of each side. Remember, when hole punching these pages to place the calendar pages FACING each other!
Printing the Goal Planner Pages
For our final section, our Goal Planner pages, if you want the 4-page option, simply print 2 copies of your Goal Planner Page. Then put one of your copies back into your printer so that you can print on the reverse side and then print one more copy of the Goal Planner Page.
Put the remaining Goal Planner page into your printer so that you can print on the reverse side and print one copy of your Notepaper page. You should now have 2 sheets with Goal Planner pages on three of the sides and a Notepaper page on one of the sides. Your Notepaper page is the back page for this mini section. You can hole punch these and place them in your planner.
If you’d like to print the 6-page option, simply print 3 copies of your Goal Planner page. Once done, put these pages back into your printer so that you can print on the reverse and then print 3 copies of your Notepaper page. Simple! You’ll now have 3 sheets with Goal Planner pages on the front and Notepaper pages on the back. You can now hole punch these and place them in your planner.
Hole Punches
If you’re opting for an A5 or a Personal planner, you’ll need a 6-hole punch.
If you’re opting for a full size A4 planner, then you’ll need an A4 4-hole punch.
So there you have it! A mini tutorial on how to print refill inserts for your A5 planner. If you have any questions related to planners or refill pages or our stationery club, let us know!
And if you'll like pretty stationery, then you need to join our club!
Our members love getting their monthly stationery collections each month. Have a look at what our members have been saying:
I’ve been a subscriber now for 3 months and have not been disappointed! Your collections are beautiful, and very practical! You’ve really helped me to get my family a bit more organised!
JILL
Both beautiful AND functional – what more could I ask for? Please keep it up! Happy to be a part of this membership – using the tracker daily!
CAROL
Plus, having beautiful stationery designed for you each month means that you won’t waste any time looking for pretty stationery to put into your planner (trust us, we’ve looked and we couldn’t find any prettier than ours!).
And it means that you’ll never run out of pretty stationery for your planner or your home. Joining our club allows you to print off what you need, which will help to reduce waster, and it means that if you need more of a particular page (note paper or list pages for example), you can simply print them off and go!
So don’t wait! Join our club today and get your pretty paper on autopilot!


Other posts you may like:


I’m a huge stationery fan, homeschool mum, and a professional jazz singer who began creating lists and sheets years ago to keep my busy life organised.
The result? An international stationery club that helps women all over the world become more organised and focused on the things that matter.
Love stationery?
Join our club!
Using Notion?
Blog Categories
Join our list
and get THIS TASTER BUNDLE OF STATIONERY free!
Want to get a glimpse of the kind of things we have inside our monthly stationery club? T.hen join our list and we'll give you this Taster Bundle of stationery FREE!

© Copyright 2025 • PAPER ME PRETTY • PRIVACY POLICY


